Sewer Hose Carrier Project
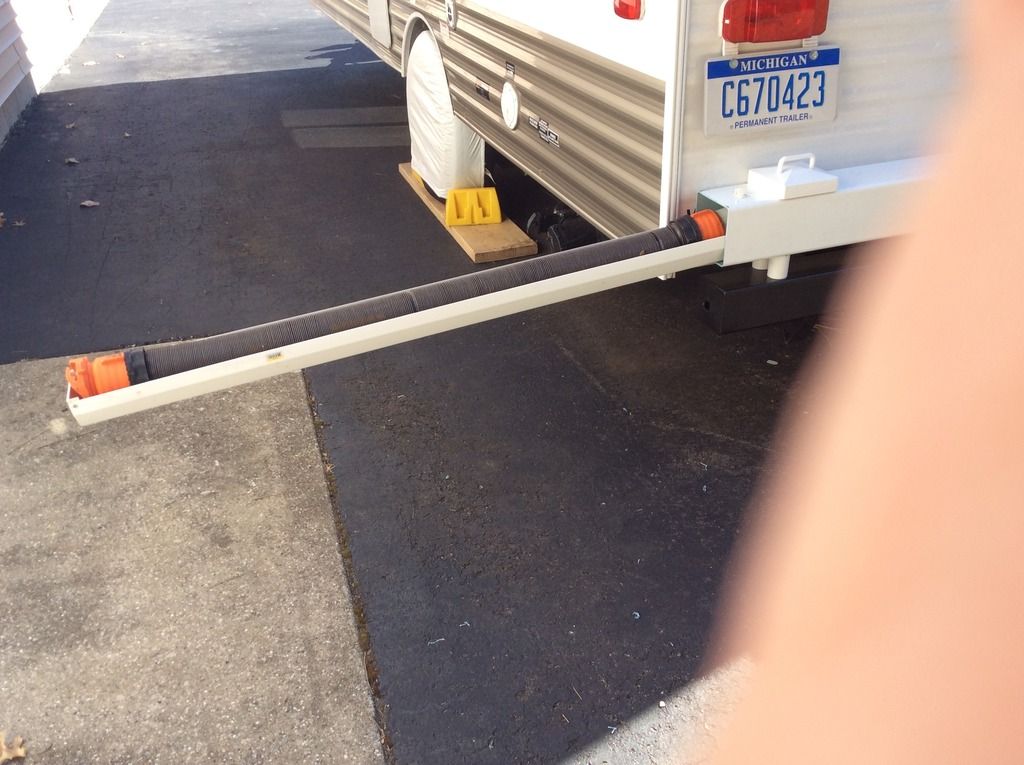
Here's the pictures of the sewer hose carrier project I just finished. I can't take credit for this idea as I found it on RVNet forum. There are many ways to do it depending on how one wants too. Bumper mount or under rig mount etc. First a list of the materials I used. I let the pictures large so you can see the details.
1 5 inch square vinyl post about 96 inches long
2 Post end caps
1 vinyl gutter
4 PVC pipe connectors (the picture shows 8, but only need 4) Mine were 2 inch ones.
4 Cariaga bolts, lock washers and nuts (mine are 3/8 by 3 inch bolts)
1 cupboard door handle

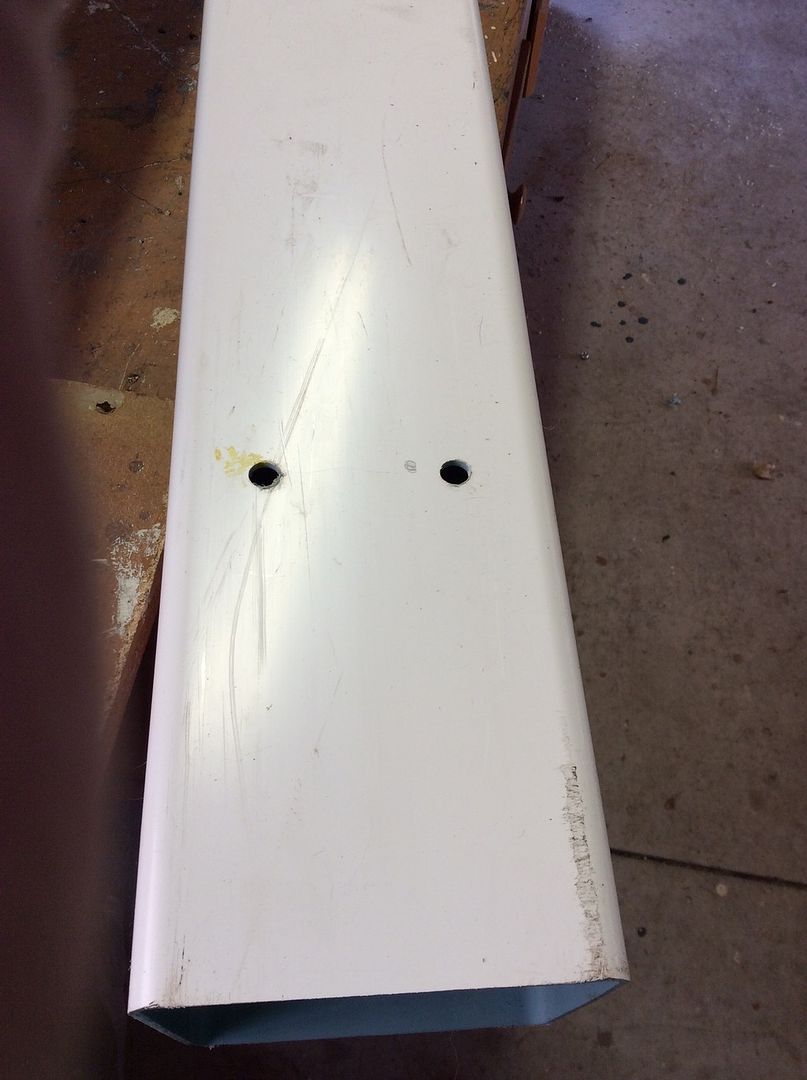
Once I got all the materials, then I measure and cut the fence post to the length of my bumper, drilled 4 holes in each end abut 6 inches in from the end
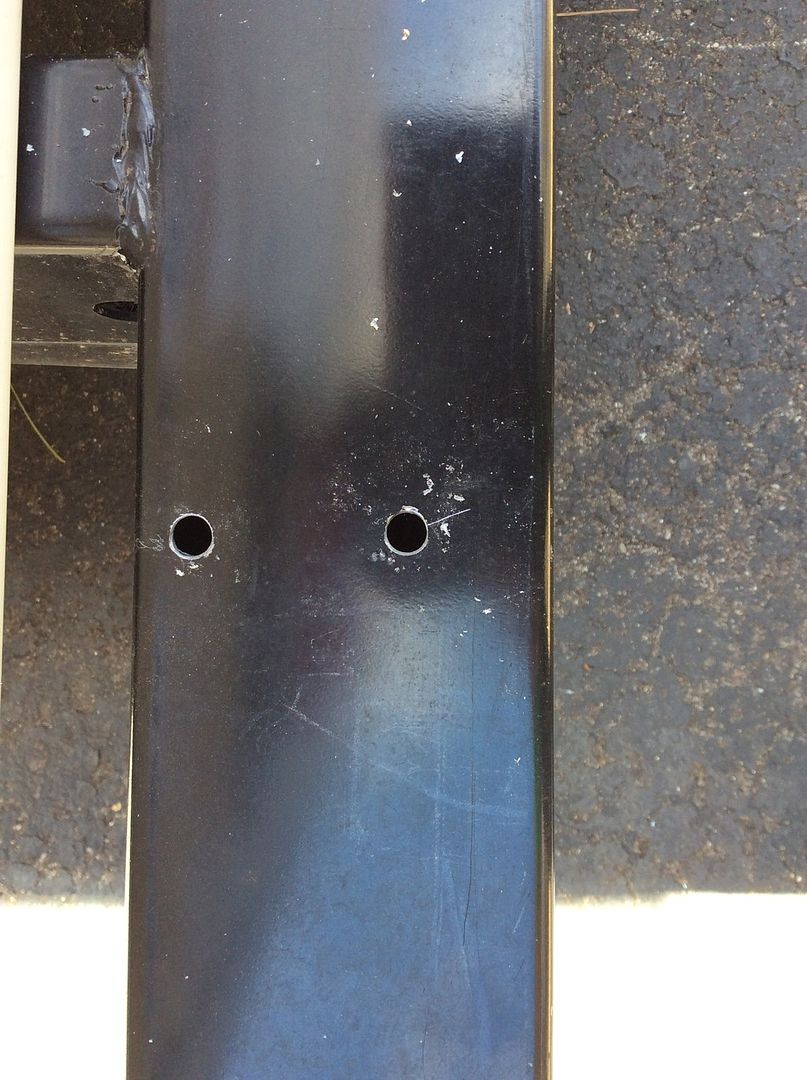
Then placed the post back over the bumper and marked corresponding drill spots on that. Being a black bumper, used a yellow paint marker. Drilled holes in bumper.
I glued the PVC pipe connectors onto the fence post so that the holes in the post were in the middle of the connectors. That way I could put the bolts through the post, the connectors and then the bumper. They are in effect little feet to give support to the fence post. This was done in order to put the fence post above my spare tire carrier bracket.
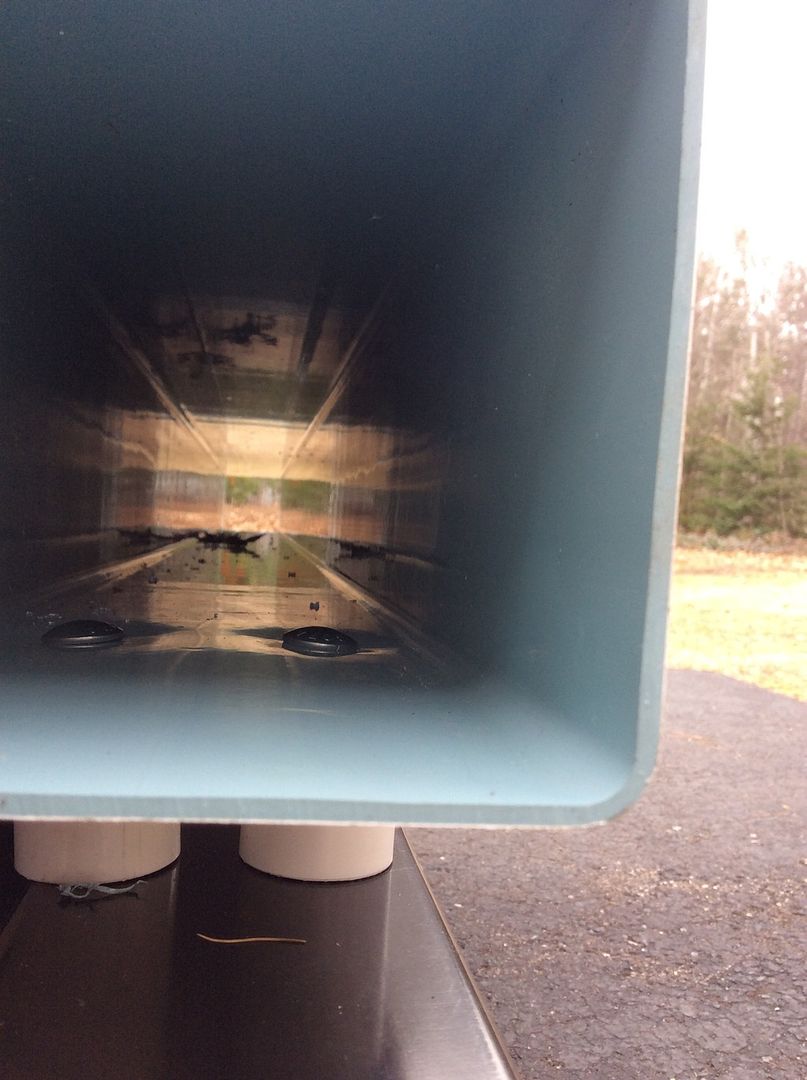
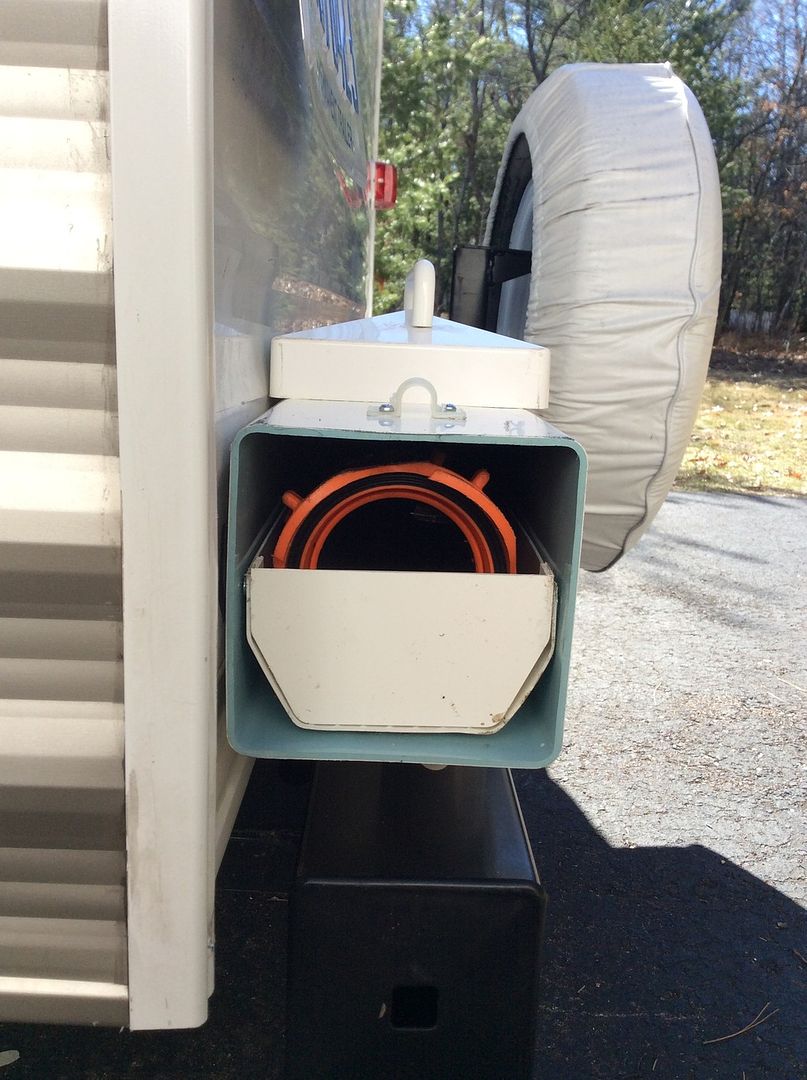
After that, I flipped the fence post and set it down on the bumper, put the carriage bolts from the inside of the fence post, through the connectors and into the bumper, fastened it down with the lock washers and nuts. Makes a smooth surface in the fence post for the gutter to slide over. This picture is looking straight through the fence post. You can see the tops of the bolts just inside the edge of the post (there's also some debris in the post too )
)
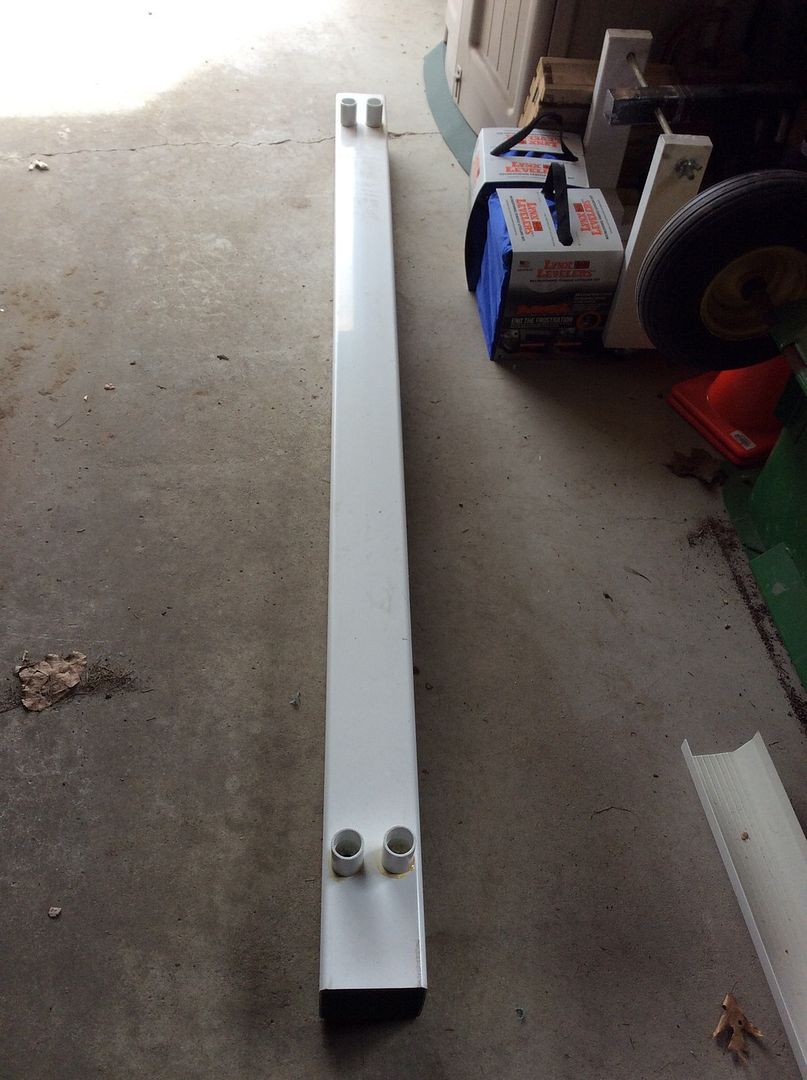
Then I glued and screwed one fence post cap to one side of the post, and cut the gutter down to size at they come in 10 ft. lengths and install the end caps on both ends. Put the sewer hose in the gutter and just slide the whole thing into the pipe. You can put another gutter end cap at the other end of the sewer hose if you want as I did with mine. Just put a screw on both sides of I to hold it in place.
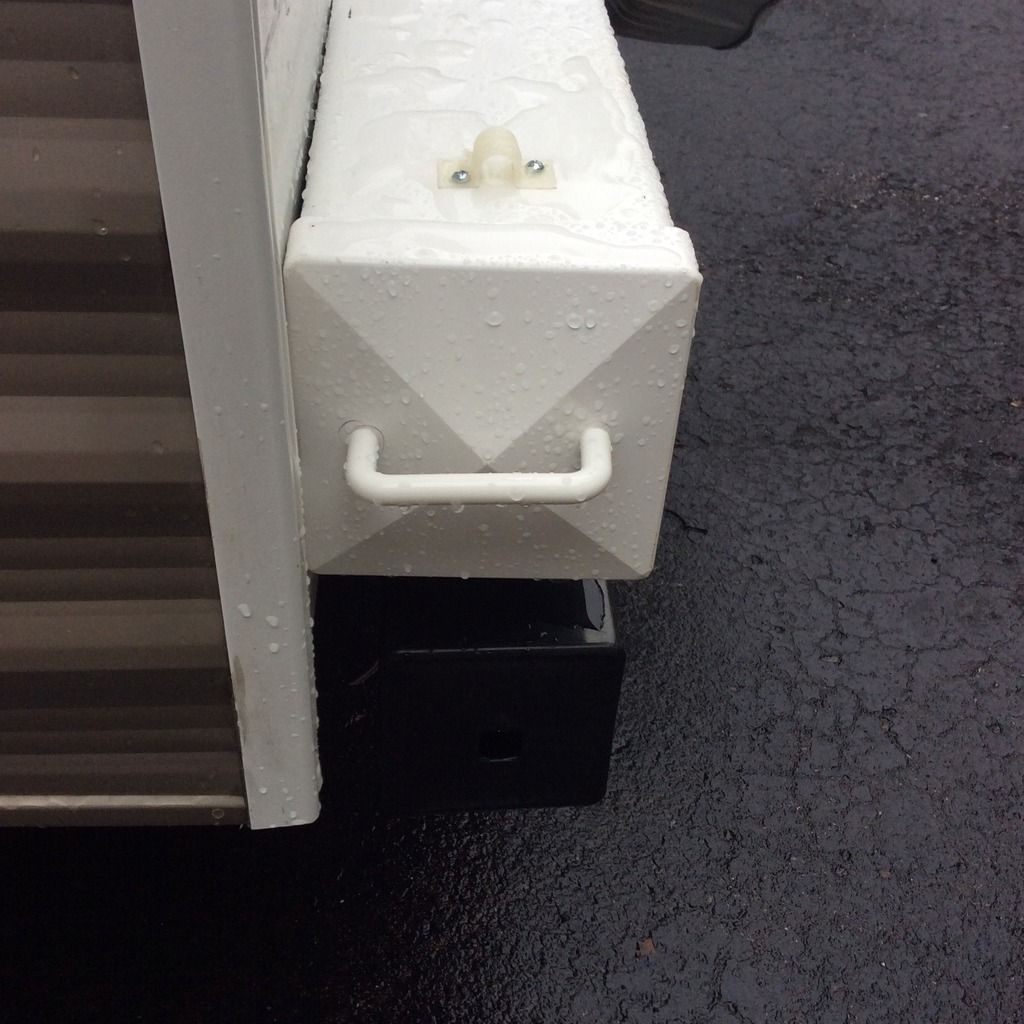
After that I put a cupboard door handle on the other end cap and put it on the end. Put a couple of small eye holders are they are called n top and bottom of the post (you can see it on the top in the picture) as I plan to put a bungee cord or streatch strap from top to bottom to keep that cap from coming off on the road.
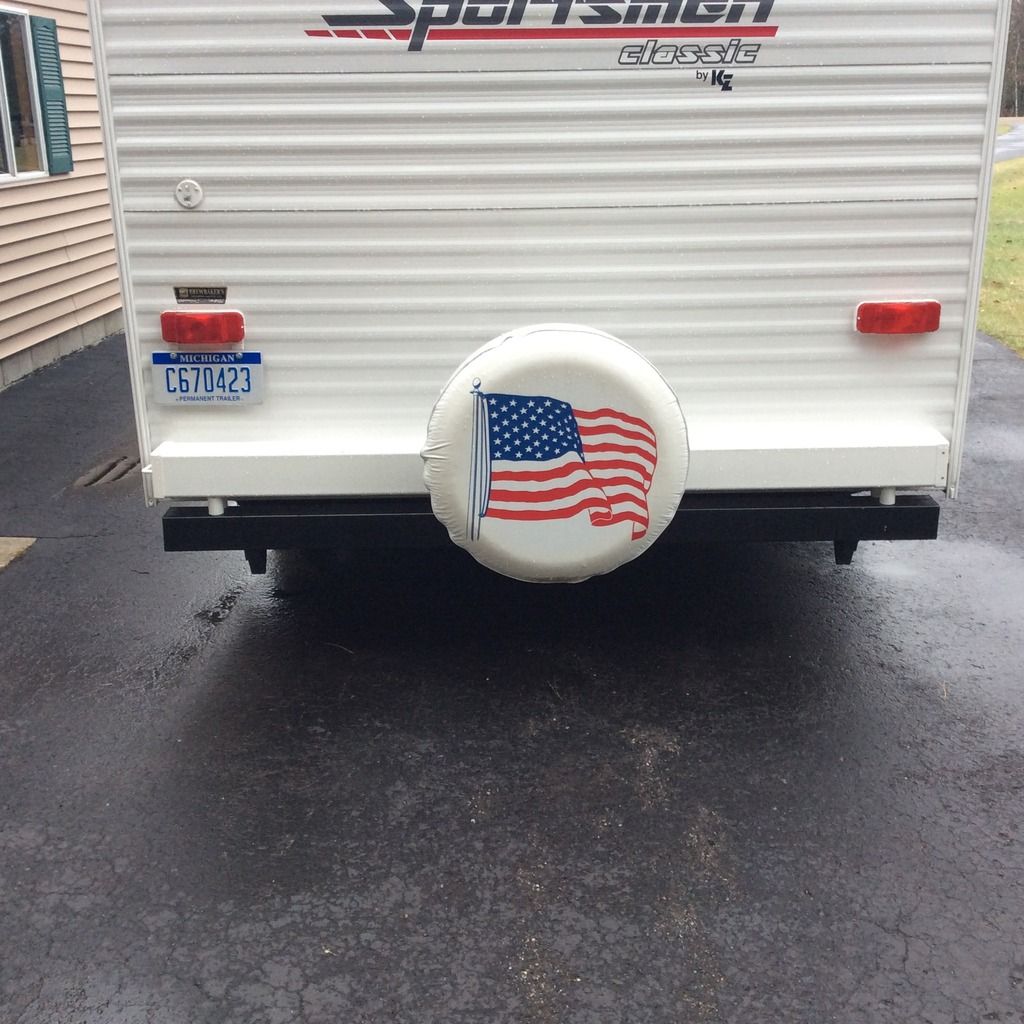
Here's what it looks like a all finished. When you need the sewer hose, just take off the end cap and slide the gutter out with the hose in it.
This project can be done in a lot of different ways. You can mount it under the rig frame using U bolts screwed into the frame if you have room to do so. Mine is sealed underneath and right down to the top of the frame work. You can mount it directly on the bumper if you don't have a tire carried mounted on there with either U bolts or some have used Cable ties.
To any questions or need some clarification, just ask away.
1 5 inch square vinyl post about 96 inches long
2 Post end caps
1 vinyl gutter
4 PVC pipe connectors (the picture shows 8, but only need 4) Mine were 2 inch ones.
4 Cariaga bolts, lock washers and nuts (mine are 3/8 by 3 inch bolts)
1 cupboard door handle

Once I got all the materials, then I measure and cut the fence post to the length of my bumper, drilled 4 holes in each end abut 6 inches in from the end

Then placed the post back over the bumper and marked corresponding drill spots on that. Being a black bumper, used a yellow paint marker. Drilled holes in bumper.

I glued the PVC pipe connectors onto the fence post so that the holes in the post were in the middle of the connectors. That way I could put the bolts through the post, the connectors and then the bumper. They are in effect little feet to give support to the fence post. This was done in order to put the fence post above my spare tire carrier bracket.

After that, I flipped the fence post and set it down on the bumper, put the carriage bolts from the inside of the fence post, through the connectors and into the bumper, fastened it down with the lock washers and nuts. Makes a smooth surface in the fence post for the gutter to slide over. This picture is looking straight through the fence post. You can see the tops of the bolts just inside the edge of the post (there's also some debris in the post too

Then I glued and screwed one fence post cap to one side of the post, and cut the gutter down to size at they come in 10 ft. lengths and install the end caps on both ends. Put the sewer hose in the gutter and just slide the whole thing into the pipe. You can put another gutter end cap at the other end of the sewer hose if you want as I did with mine. Just put a screw on both sides of I to hold it in place.


After that I put a cupboard door handle on the other end cap and put it on the end. Put a couple of small eye holders are they are called n top and bottom of the post (you can see it on the top in the picture) as I plan to put a bungee cord or streatch strap from top to bottom to keep that cap from coming off on the road.

Here's what it looks like a all finished. When you need the sewer hose, just take off the end cap and slide the gutter out with the hose in it.

This project can be done in a lot of different ways. You can mount it under the rig frame using U bolts screwed into the frame if you have room to do so. Mine is sealed underneath and right down to the top of the frame work. You can mount it directly on the bumper if you don't have a tire carried mounted on there with either U bolts or some have used Cable ties.
To any questions or need some clarification, just ask away.